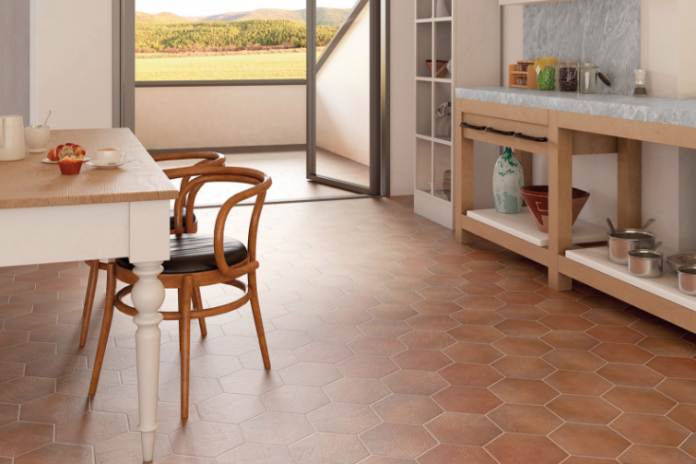
Do you intend to tile the kitchen, but you do not know where to start? This step plan is meant to help you.
Kitchen is the most used rooms in the home and also one the rooms that experiences heavy foot traffic flow and unanticipated spills. With that, it is important to choose the right flooring material for your kitchen installation. And one of the common material used for kitchen flooring is tile, either porcelain or ceramic.
Porcelain or ceramic tile is the best to use for your kitchen flooring reason because of its toughness and good-looking appearance. Mind you, The price for installing kitchen tile though, is classy and you doing it yourself can appear intimidating at first glimpse. Regarding the installation of the tile itself, we advise you to entrust it to a specialized company. A tiler can ensure you a flawless result, and a perfectly tiled room.
Tiling your kitchen is not that hard and can be done by following this simple step by step guide.
Step 1: Subfloor Preparation
It’s important that you secure your subfloor to support the tile and the people walking across it. You must make sure the tile did not bend under any additional weight as this can bring about damage to the grout over time and which can lead to water damage. So, therefore, Once the floor is secure perfectly well make sure it is well clean before starting the tile installation.
Step 2: Plan the kitchen layout
To being tiling your kitchen, find the middle of the room by snapping a chalk line from the halfway point of each wall. This is done from the threshold of the door to the bottom of the room, or from the center of the room. So, to check your layout, do not hesitate to put an entire line of tiles without sticking it along the room with the plastic braces (temporary joints to be placed at each corner of the tiles). You can then remove them when the glue is dry and just before making the joints.
Step 3: Mix Mortar
Now you need to mix the mortar (tile adhesive) with water. Then spread this mixture with a trowel on about one square meter. For the tiles to adhere well, make furrows in the adhesive mortar using the toothed spatula. When you drag the latter, you should always keep it in contact with the ground by making straight lines toward you. Follow the package instructions for mixing the mortar. Do not mix more than you can install within 30 minutes.
Step 4: Apply Mortar
Start by applying the mix mortar to the area of about two feet square at the center line. Try to avoid covering large areas at a gobecause the mortar can get too dry. Use the trowel to spread the mortar in curved patterns until it is flat on the surface. Then use the trowel’s notched edge at a 45-degree angle to finish spreading the mortar into small ridges.
Step 5: Lay the tiles
Now that you have applied the glue, all you have to do is lay the tiles along your path. Install the braces vertically at each corner of the tile to guide your installation. With a rubber mallet, tap lightly on each tile so that the glue adheres properly. Do not forget to check that your line is straight with a big rule. Adjust if necessary.
Step 6: Cutting Tile
To cut tiles along the wall, lay a tile on the penultimate and slide it to the wall, taking into account the width of the joint. Draw a line on your tile. You can then cut with a tile (cutting tool). Then allow the surface to dry for at least 24 hours.For straight cuts, place the tile in the tile cutter so that it is in line with the knob. Place and push the wheel by pressing lightly. A little pressure will suffice to break the tile. Placed along the cutting line and on the part to be preserved, the tape helps to avoid small chips and to have a perfect finish.
A tip: before cutting the tile, dip it for a few minutes in the water. This will prevent the tile from breaking or chipping.
Step 7: Grouting
Jointing (or grouting) is the final step in laying tiles. It makes it possible to fill the spaces between the tiles while protecting them and reinforcing their adhesion to the floor. Choose a joint that matches your tile, especially in terms of color. Prepare according to the manufacturer’s instructions.
Use a small trowel to generously apply the seal. Make sure to fill the spaces between the tiles by diagonal movements. Do not worry about spreading the joint on the tiles: the excess will be easily cleaned with water. Then, allow the seal to dry for about 30 minutes. Obviously Use tile floor vacuum cleaner to keep clean and hygenic.


